Regular maintenance and upkeep is a part of vehicle ownership. Dealerships and mechanic shops can charge an hourly rate of anywhere between $47 to $215 for labor. Additionally, there will be a typical markup on the parts as well.
For major service intervals, you’ll want to employ the expertise of a trained and certified mechanic to do the work but for common wear-and-tear items, you don’t need expert know-how in order to replace certain wear-and-tear items.
Wear-and-tear parts are items that are designed to deteriorate through repetitive use and eventually require replacement.
If you’ve got a handy side and are looking to save money, here are 5 items that are relatively easy to replace at home with some simple tools.
Headlight Bulbs

Image Credit: Pexels / Vraj Shah
Ever been driving at night towards a car in the opposite lane with dim or burnt out headlights? Visibility is crucial for safety so when bulbs burn out or need replacing, it’s important to remedy the situation ASAP.
Most bulbs can be accessed via the engine bay where the headlight housing is located. There will be lamp connections on the back of the housing which can be disconnected. TheDrive has a generic guide on how to replace a headlight bulb. Typically, all you need are a pair of nitrile gloves, some tools such as a socket set, screwdriver, and pliers.
If you’re looking to replace your bulbs (or even get a spare set as backup), check out the headlight bulbs available from SuncentAuto, an auto parts store. They have a variety of LED and HID bulbs and you can search by vehicle Year and Model to determine which bulbs your vehicle requires.
Keep in mind that certain vehicle models may have unique housing placement and require you to remove components such as splash shields or washer fluid bottles in order to gain access to the headlight housing to remove the bulb. This is generally not the case for most vehicles and it’s always worthwhile to consult your owners manual for more details.
Battery
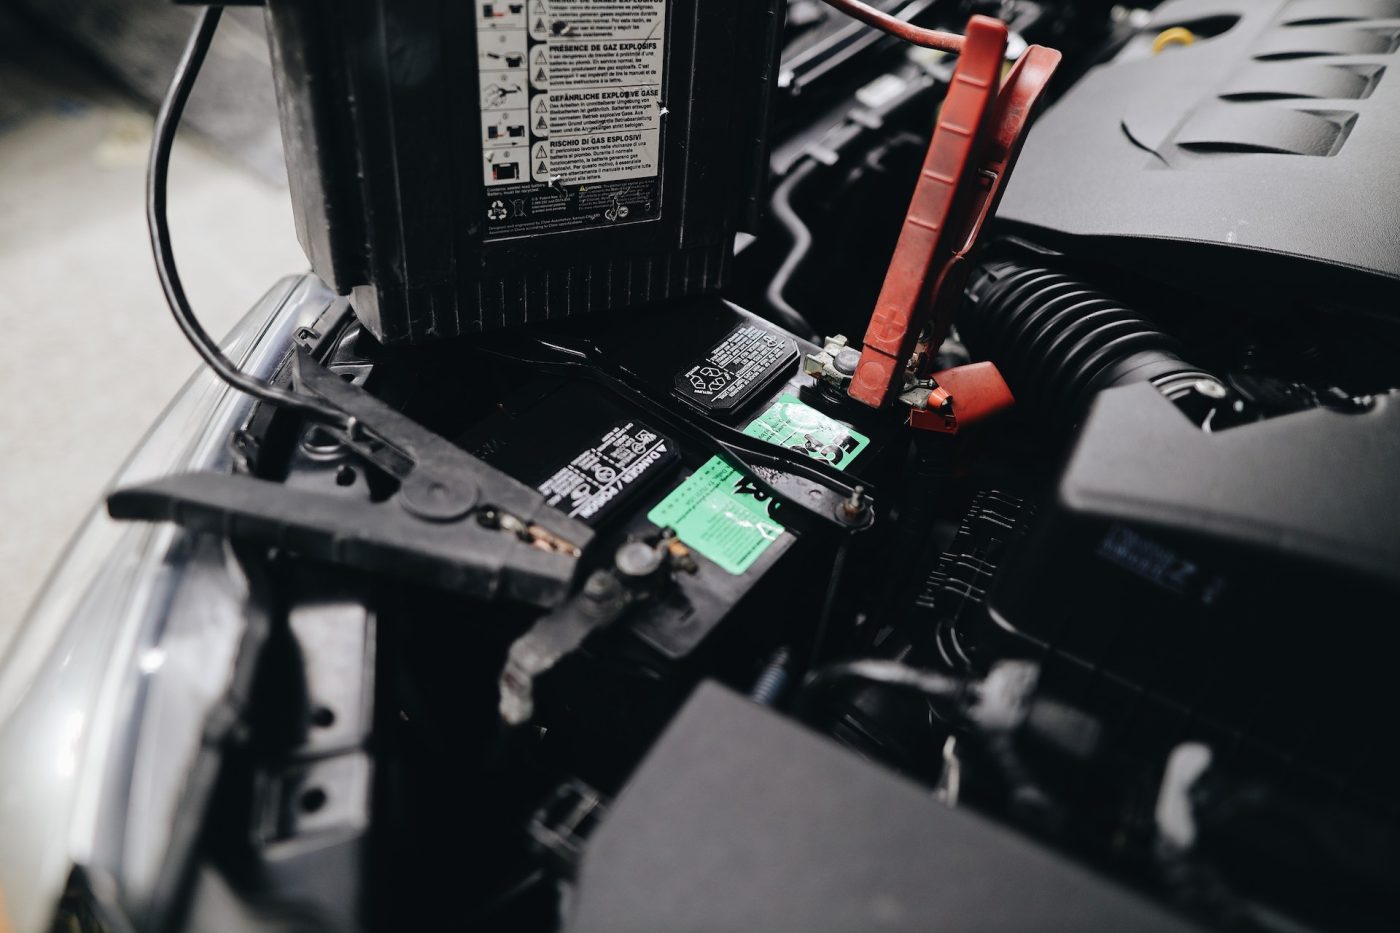
Image Credit: Pexels / Julia Avamotive
Replacing your battery ensures that it has enough juice to provide starting power for your vehicle. It delivers power to components such as your lights, stereo, LCD display screens, and various other system functions.
Battery life is subject to driving habits and weather conditions, but on average can last at least 3 to 4 years. When it’s time to replace your battery, replacements can be procured as OEM or from vendors such as Costco.
To replace a battery, a socket or ratchet wrench kit is usually all that’s required. A wire brush can be helpful to remove any buildup on the terminal connections. Read this article to learn more about how to replace a car battery.
Windshield Wiper Blades
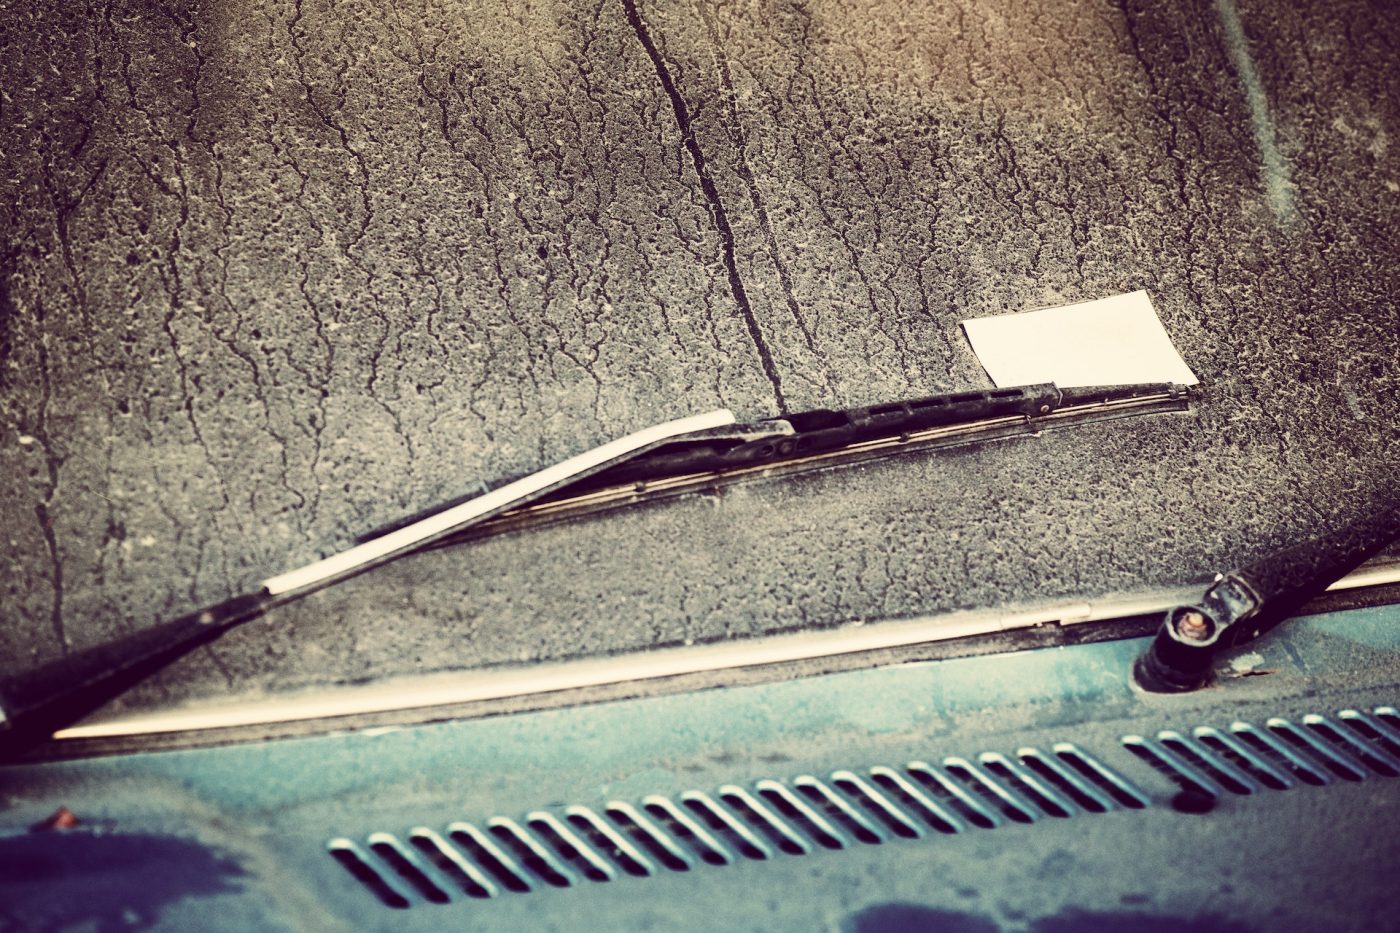
Image Credit: Pexels / NEOSiAM 2021
Next on our list is windshield wipers. The rubber blade attachments deteriorate over time as they’re exposed to elements and daily usage. They can be readily found in auto part shops and are cheap to replace.
Having brand spanking new wipers ensures visibility on the roads especially if you are caught in a snow or rainstorm where your visibility is drastically reduced and increases the risk of an accident.
Replacing your windshield wipers typically does not require any tools other than your hands. They are held under spring tension or clips and are an easy-to-replace item. Just make sure that you choose the correct sizes and consult your vehicle owner manual.
Engine and Cabin Air Filter
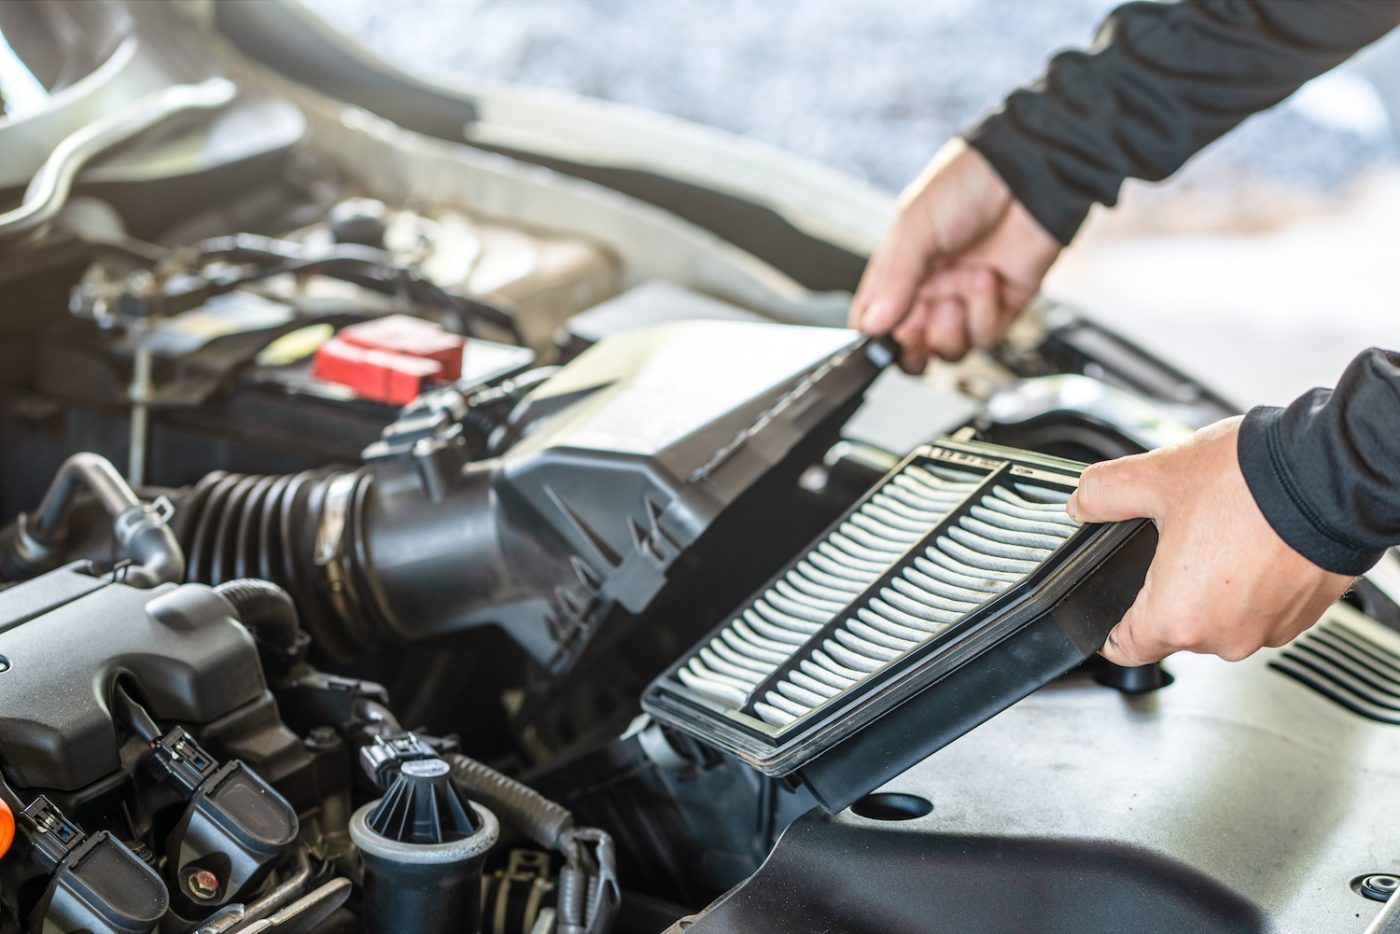
Image Credit: CarParts.com
Cabin filters help remove harmful pollutants from the air such as dust and pollen to give passengers a literal breath of fresh air.
Most cabin filters can be located behind a glovebox and are accessible with the help of a screwdriver. Engine filters are also easily replaceable. For most vehicles, they are located in an encased black plastic box in the engine bay.
Both can typically be replaced in less than 20 minutes and it’s a good idea to replace these according to your service maintenance schedule, which should be between 15,000 to 20,000 miles. If you are driving in dusty conditions such as dirt roads, you will want to replace them more regularly.
Your lungs will thank you!
Engine Oil and Oil Filter
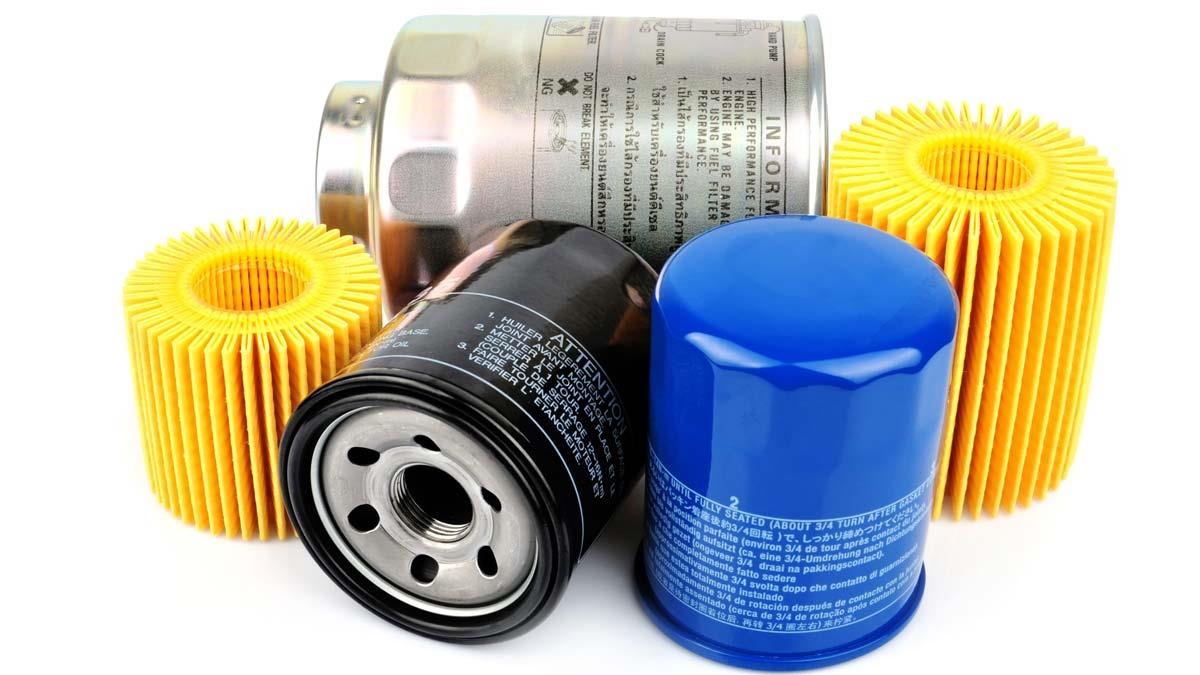
Image Credit: Machinery Lubrication
The engine is the heart of your vehicle and one of the easier (but not easiest) things for DIYers is to do an oil change from the comfort of your own home, if you’ve got a bit more automotive savviness than most.
Again, the first thing to do is to consult your owner’s manual (are you seeing a trend here?) It will indicate what kind of oil is required. To do your own oil changes, this is typically what you’ll need:
- Nitrile gloves
- Floor jack (to give yourself enough working space).
- Jack stand (for safety and to keep the vehicle raised). Always prioritize safety whether you are using a jack stand, hoist, or ramps.
- Engine oil and oil filter
- Oil filter wrench
- Tray and container for oil engine oil
- Funnel
Note: You’ll want to consider how to responsibly dispose of your old oil. Consult your local area to determine where dropoff locations are for hazardous and waste materials. Do not just put it in a container and throw it into the trash.
DIY Gives A Sense Of Pride
Replacing common wear-and-tear parts on your own is a great way to save money and learn about basic maintenance. The parts are readily available at most local and online parts stores and easy for the average person to do themselves.
There are a variety of online resources that can provide you with a step-by-step guide. Understand the steps and the equipment required before you go and begin taking parts off of your vehicle, and always observe safety precautions.